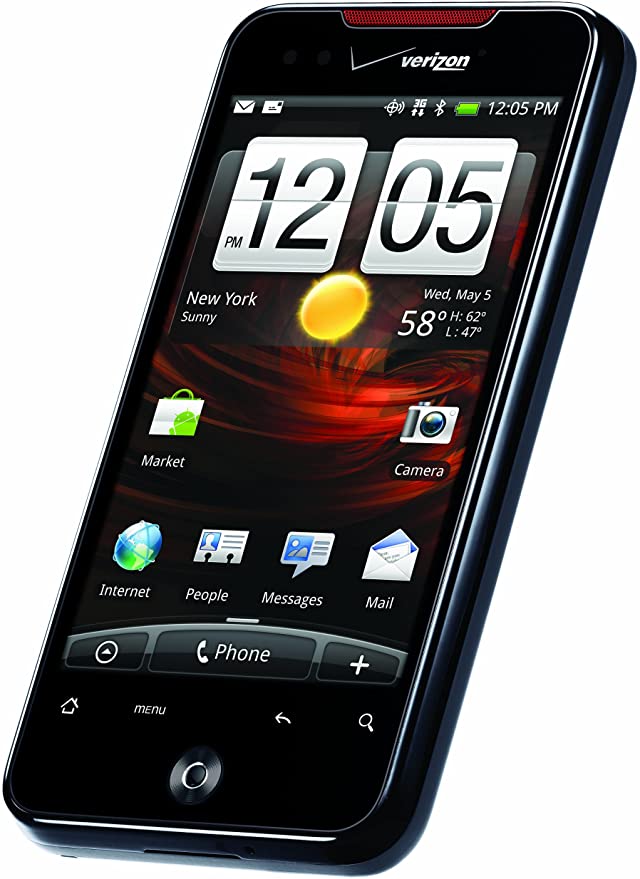
Reading Time: 7 minutes UPDATE July 2014! You can STILL ROOT/UNLOCK! If you’re reading this you probably have a DNA and are looking to root this badboy and take full advantage of what it has to offer. Salute! I will do an overview of the unlock/root process and also show you how to install Flash Player and WiFi Tether.
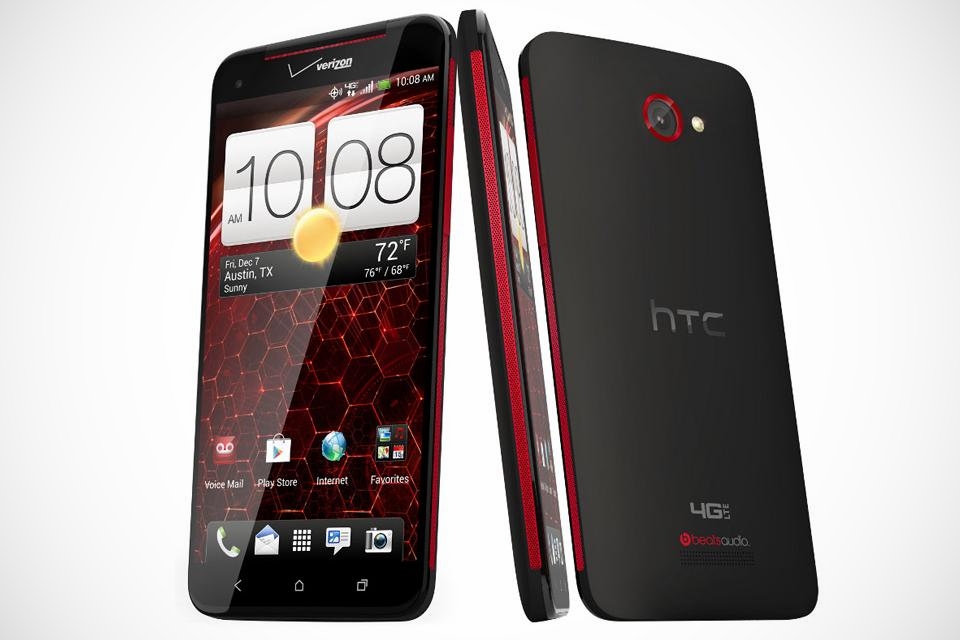
Hello Droid DNA!
I finally have my Thunderbolt replacement!
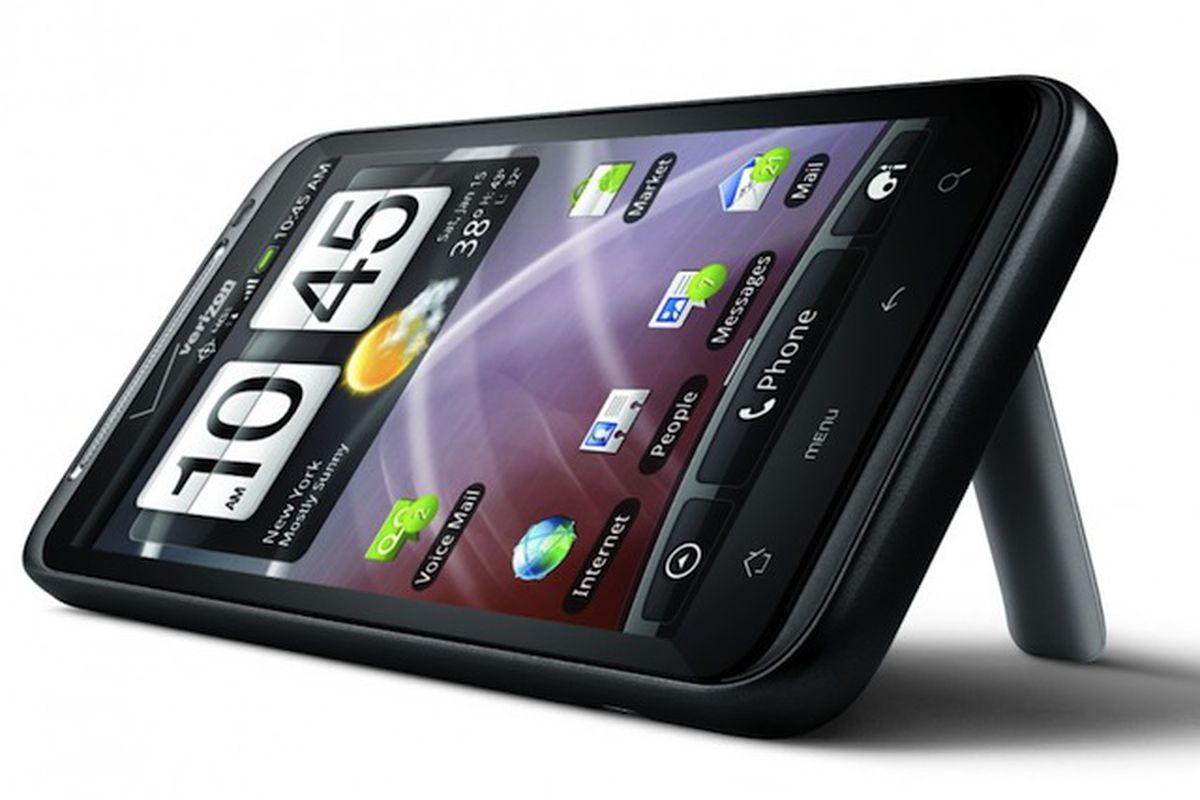
Ah, the good ol’ T-Bolt. The out-dated dinosaur aspect didn’t bother me nearly as much as the phone being riddled with problems. Touch screen was on the fritz and most aggravating was the 4G radio having consistent connectivity issues. Didn’t seem to matter how strong my signal was, the phone often times had a mind of it’s own in terms of staying connected to the network. What made it worse was it’s inability to foul over to 3G when the 4G radio decided to tank. Basically, unless I had wifi, I’d be left with no connection until the phone randomly decided to connect to Verizon’s network again. Not fun. I researched the problem and troubleshot it to infinity. No dice. Most feel the Thunderbolt was plagued with problems the moment it launched, and several of those bugs are still rendering multiple users with unresolved issues. I decided to move on.
When the HTC One X went to AT&T and Samsung’s Galaxy S3 didn’t quite sell me, I found myself kinda stuck with the Thunderbolt. I refused to pick a device I didn’t like and sign a new contract, being forced to fall into Big V’s poverty-row tiered data plans. I had just purchased an iPad and needed a reliable device that could tether Verizon’s lightning fast 4G on demand (for free), without fear of exceeding a bandwidth cap. I had heard rumblings that HTC was working on a new, fully loaded flagship device for Verizon. Enter, Droid DNA. Purchased one outright with no contract. Still have unlimited data with Verizon. Score.
Ok, now on to the fun stuff.
UPDATE — 7.20.2014
You can STILL ROOT!
No matter what software version your DNA is on or how many OTA updates you’ve taken from Verizon, it is still possible to root/unlock this device.
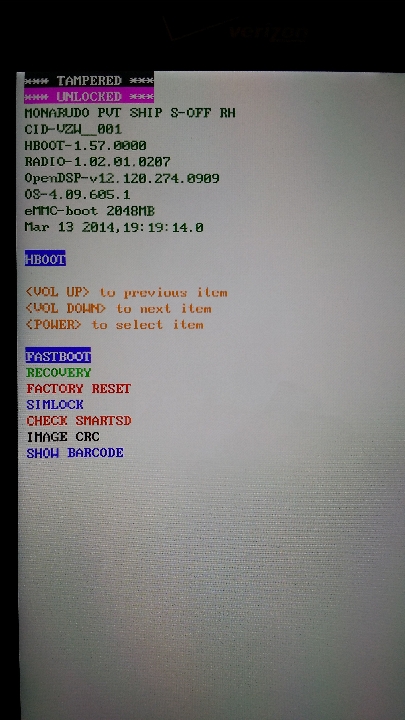
I recently dug out my wife’s old DNA to root/unlock/s-off and prep it to sell. Her phone had been upgraded to 4.4.2 via Verizon OTA update before she stopped using it. After hours of countless searching (and not finding any real answers), I stumbled upon two remedies that broke through Verizon’s lockdown and freed the device. Weaksauce and Firewater are what you need. Weaksauce gives your DNA temp-root while Firewater unlocks the bootloader and grants s-off. Additionally, you’ll need to be at least familiar/comfortable with adb.
Also! Very important: When you get to the point where you’re ready to run Firewater, make sure you disable any and all anti-virus software as well as any firewalls you may have running (including Windows). If you do not, Firewater may stall indefinitely, leaving you clueless as to what to do. Drop all anti-virus and firewalls and you should be good to go.
Finally, what if you’ve taken an update from Verizon in the past, but not running the absolute latest at present? There are different remedies for different software versions. Basically, it breaks down like this:
software version 1.xx – use Facepalm
software version 2.xx – use Moonshine
software version 3.xx – use Rumrunner
software version 4.xx – use FirewaterKeep in mind, no matter which remedy you use, same rules apply. Run Weaksauce first and foremost to temp-root the DNA. Then, turn off anti-virus and disable firewall(s) on your PC while running any of the four exploits. I cannot stress this enough. Make sure you do not forget to do this.
Hope this helps save you guys some time! Free that badboy!
UPDATE — 2.25.2013
If you have accepted the latest OTA update from Verizon (Feb. 2013) this root method will NO LONGER WORK. Refer to xda-developers for instructions on how to remove the update, or see if a new root method has been found.
If you have not accepted the update, read on as this method will still work for you.
If you’re reading this you probably have a DNA and are looking to root this badboy and take full advantage of what it has to offer. Salute! When I got the phone, I immediately took to the forums over at XDA Developers to see if anyone had cracked the device yet. Lol, silly thought. Those guys had already unlocked the bootloader and rooted before the damn phone even launched. They have a diligent walkthrough, complete with videos and text guides. I used them both and found the tedious process not too challenging. However, sometimes when these guys do the guides/walkthroughs, they have a tendency to assume the user knows a tad too much. I typically only unlock/root when I get a new smartphone, or when I occasionally assist a friend with the process. I don’t do it for a living. So, by the time a shiny new Android device that I want comes out I’m a little out of practice and need a quick refresher like a lot of people.
With that in mind, I will do an overview of the unlock/root process for the DNA and point out some of the things that might prompt a few questions along the way. Smartphones aren’t cheap, and every guide/walkthrough you follow always insists you follow directions and do exactly what it tells you to do, to the tee, to avoid bricking your device. Hard to do that sometimes when something you read doesn’t go into proper detail.
- BACKUP YOUR DATA
Since the DNA has no SD card, whatever data you have saved on the phone WILL BE LOST during the unlock/root process. Hilarious that the video narrator fails to mention this until nearly the very end of the walkthrough — after the procedure has already wiped everything. Connect your DNA to a cpu, choose (on your phone) to mount as disk drive, and copy any data you want to save before you begin the process.
- SET UP ADB SHELL
First thing to do before you even open the link to the guide is set up ADB Shell.
For Windows users, you can either hit the direct link below to download the software, or if you’re questioning whether or not to trust me, head to developer.android.com/sdk/index.html and click on DOWNLOAD FOR OTHER PLATFORMS, and download/install installer_r21-windows.exe. Either way, you must install this program. It is recommended to install it in the root directory of your cpu (C:).
Direct link:
(MD5 Checksum: 29ca8cb8f0bc8db627fa2adc2139a3cc)
Refer to THIS VIDEO for a walkthrough on how to set ADB up properly after you’ve downloaded the file.
- INSTALL HTC DRIVERS
One mistake that a LOT of people make is forgetting to install the drivers. Not doing so will cause you to get hung up on the guide in the very beginning. ADB Shell will not work if your cpu doesn’t recognize your DNA, so let’s take care of that.
Direct link:
(Source: xda-developers.com)
- BEGIN THE WALKTHROUGH
Now you’re ready to start the walkthrough. Quick disclaimer before you begin:
This is not something that is recommended for a novice user. Doesn’t mean you CAN’T follow this guide and succeed. But, you may find pieces of it difficult to understand. No matter your skill level — proceed with caution, and at your own risk. If you find yourself in a jam and are not sure what to do next, STOP! Don’t go any further. Don’t power off your device. Don’t disconnect it from your cpu. Head over to XDA Developers and post a thread in the forum asking for help. Someone will respond (sometimes not right away) and assist you.
Ready?
This is the thread to begin your journey:
In it, you’ll find links to the video tutorials that will walk you through the entire process. In the description of those videos you’ll also find links to every other resource you’ll need. The guide I chose to follow along with the video is the same one the narrator is using. It can be found here:
- 1ST VIDEO – FEEDBACK
Pretty straight-forward tutorial. I didn’t run into any issues that aren’t covered by the narrator in this one. Just follow his instructions and you should be good on the first step.
- 2ND VIDEO – FEEDBACK
One thing I did run into here I want to share: after I registered at HTC Dev and got to the point where I submitted my device ID token, which the narrator reaches at 06:23, I got an error page instead of what the narrator got. Wasn’t sure what was happening at first, but then realized my session at HTC Dev had timed out. If this happens to you, just open a new tab, log back into HTC Dev, and go through the prompts again. I got the Token Submitted Successfully page on the second try.
- 3RD VIDEO – FEEDBACK
A problem that popped up on me in the 3rd tutorial occurs at 02:18 where the narrator opens a command prompt from the Downloads folder where his browser saved the DNA.TWRP recovery file. He types fastboot flash recovery DNA.TWRP.2.3.2.0.img and pushes the recovery to his DNA. This didn’t work for me. When I opened the cmd prompt from the Downloads directory and typed that cmd, it error’d out. Since ADB Shell is installed in my root directory (i.e. C:\Android and not C:\Users\My Name\Downloads) the cmd prompt wasn’t recognizing it. I moved the DNA.TWRP file to the C:\Android directory where ADB Shell is installed, opened a cmd prompt from that directory, then tried the fastboot flash recovery DNA.TWRP.2.3.2.0.img and it worked.
After the 3rd video, if you’ve followed all the instructions your DNA should be now be UNLOCKED and ROOTED. Congrats!
- EXTRAS
WiFi Tether
This is the version of WiFi Tether I use and can confirm it works.
Direct link:
When you’ve installed the app, configure it by going to settings and setting device profile for Generic ICS/JB (wlan0) as well as checking routing fix. You can also change the SSID and enable WiFi Encryption to password protect your network for when you’re tethering.
Flash
If you haven’t noticed by now, Android 4.1 (Jelly Bean) has dropped support for flash, which really sucks.
To install it anyway, download it here: install_flash_player_ics.apk, install it, open the default android web browser, go to settings, advanced, and Enable Flash and plug-ins. Set it for on-demand and resume enjoying fully functional webpages.
I’m really enjoying this phone. Hardware is top-notch and Jelly Bean is a very polished version of Android. That old jerky feel of Froyo and Gingerbread has been tweaked and smoothed over nicely IMO. Hope you guys found the write-up useful. If you have any questions, you can shoot’em my way or go straight to the experts at XDA Developers.
~LK

Very nice write up…
Just wanted to say thanks for this kick ass walkthrough. Made the process easy to follow and never got stumped once. Ty!
Dude, you da bomb.
I have got enjoyment having, bring about I found just what exactly I became seeking. You’ve concluded this three morning lengthy search! The lord Bless you man. Possess a terrific morning. Bye
We are a group of volunteers and starting a new
scheme in our community. Your site offered us with valuable info
to work on. You have done an impressive job and our entire community will be thankful to you.
Hey! Someone in my Myspace group shared this site with us so I came too check it
out. I’m definitely enjoying the information. I’m bookmarking and will be
tweeting this to my followers! Terrific blog and great style and design.
Feel free to surf to my blog at *LINKS REMOVED BY ADMIN*
Wow, your Myspace page? How current of you, Spam Bot.
You are so awesome! I do not suppose I have read through anything like that before.
So wonderful to discover someone with some genuine thoughts on this topic.
Seriously.. thanks for starting this up. This website is something that
is needed on the web, someone with a little originality!